How to Build an Online Course Website with WordPress and Tutor LMS
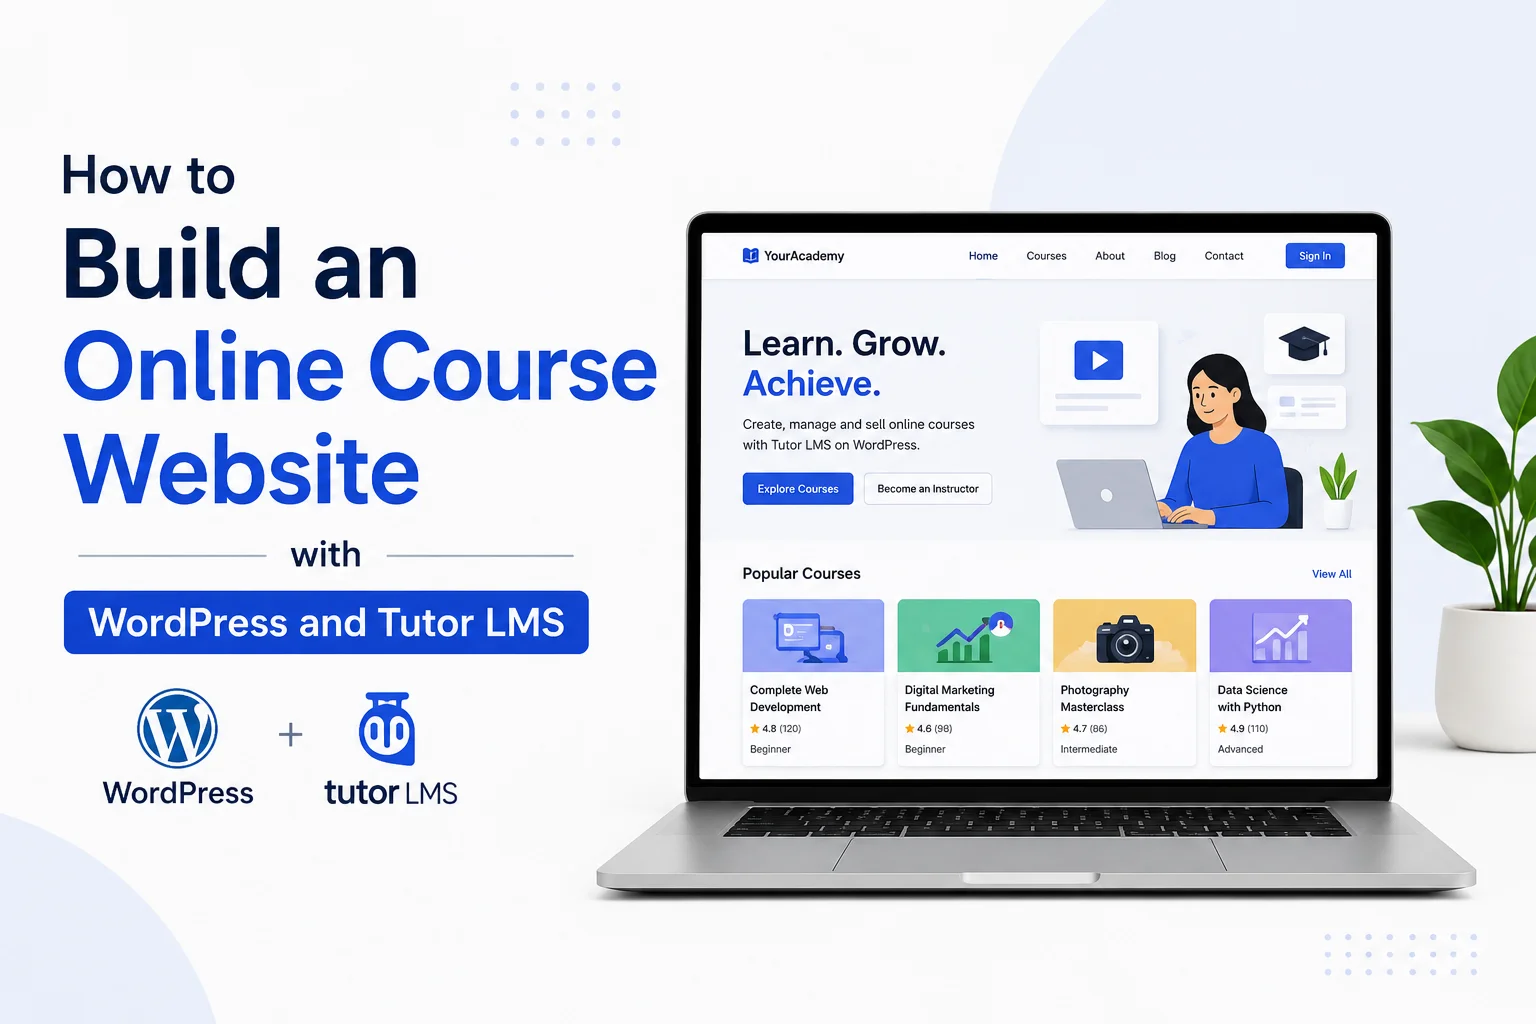
Selling courses on marketplaces like Udemy means giving up 50%+ of your revenue and all of your student data. Building your own course website with WordPress + Tutor LMS means you keep the revenue, the email list, and the brand — and in 2026 the setup is genuinely achievable in a weekend.
This is the complete build guide: hosting, theme, Tutor LMS configuration, payments, your first course, and launch checklist. It’s the same process we use when setting up education sites for clients with our Edufu education theme.
What you’ll need
| Item | Recommendation | Cost |
|---|---|---|
| Domain | Your brand name (.com) | ~$10–15/yr |
| Hosting | Managed WordPress (Hostinger, SiteGround, Cloudways) | $5–30/mo |
| LMS plugin | Tutor LMS (free core, Pro optional) | $0–199/yr |
| Theme | Tutor LMS-compatible education theme | $0–60 one-time |
| Payments | WooCommerce + Stripe/PayPal, or Tutor’s native monetization | Free + fees |
Total realistic starting budget: under $150 for year one.
Why Tutor LMS?
There are three big WordPress LMS plugins — Tutor LMS, LearnDash, and LearnPress (we compare them in depth in a separate post). Tutor LMS hits the sweet spot for most course creators because:
- The free version is genuinely complete: course builder, quizzes, student dashboards, instructor management
- A frontend course builder — instructors create courses without entering wp-admin
- Native monetization plus WooCommerce integration
- Multi-instructor support out of the box — important if you plan a small academy rather than a solo course
- Strong theme ecosystem: most modern education themes ship with Tutor LMS styling and demo courses
See the official Tutor LMS site for the current free vs Pro feature split.
Step 1: Set up WordPress hosting and install WordPress
Choose a host with one-click WordPress installation and good PHP performance (PHP 8.2+, object caching if available). Course sites are heavier than blogs — students log in, watch videos, and take quizzes — so avoid the cheapest shared tier if you expect more than a handful of concurrent students.
After installing WordPress:
- Set your site title and tagline (Settings → General)
- Set permalinks to “Post name” (Settings → Permalinks)
- Install an SSL certificate (usually one click in your hosting panel)
Step 2: Choose and install an education theme
Your theme decides how courses, instructor profiles, and the checkout look. For an LMS site in 2026, a classic, Elementor-based education theme is still the most practical choice — the LMS theme ecosystem is classic-first, as we explained in our block theme vs classic theme comparison.
What to verify before buying any education theme:
- Explicit Tutor LMS compatibility (styled course cards, lesson pages, dashboards)
- Demo with real course layouts, not just a pretty homepage
- Recent updates and documentation — see our guide on choosing a WordPress theme for a small business website for the full checklist; every point applies doubly to LMS sites
- One-click demo import so you start from a working structure
Our Edufu theme was built exactly for this stack — education layouts, Tutor LMS integration, Elementor widgets, and step-by-step documentation covering installation, demo import, and theme options. Install the theme, activate required plugins, and run the demo import. (If anything looks off after import, our demo import troubleshooting guide covers every common failure.)
Step 3: Install and configure Tutor LMS
- Plugins → Add New → search “Tutor LMS” → Install → Activate
- Run the setup wizard. Key settings:
- Course permalink: keep the default
/courses/unless you have a reason to change it - Instructor registration: enable if you’ll have multiple instructors; disable for a solo academy
- Student dashboard page: let Tutor create it automatically
- Course permalink: keep the default
- Under Tutor LMS → Settings, configure:
- Course settings: lesson visibility, content drip (Pro), Q&A on/off
- Quiz settings: time limits, attempts, passing grade
- Email notifications: enrollment, completion, Q&A replies
After setup, visit Settings → Permalinks → Save Changes once — this registers Tutor’s URLs and prevents 404 errors on course pages.
Step 4: Set up payments
Two solid paths:
Option A — Tutor native monetization (simplest). Enable in Tutor LMS → Settings → Monetization, connect Stripe/PayPal, set prices per course. Best for: selling courses only.
Option B — WooCommerce integration (most flexible). Install WooCommerce, set Tutor’s monetization engine to WooCommerce, and each course becomes a product. Best for: coupons, bundles, subscriptions (with extensions), or selling other products alongside courses.
Start with Option A unless you already know you need WooCommerce features. You can switch later.
Step 5: Build your first course
In Tutor LMS, a course is structured as Course → Topics → Lessons/Quizzes:
- Courses → Add New (or use the frontend builder)
- Write a benefit-driven course title and a description that answers: who is this for, what will they be able to do afterward, and why you
- Add Topics as modules (e.g., “Module 1: Foundations”)
- Add Lessons inside each topic — video + text summary + downloadable resources performs best
- Host videos on YouTube (unlisted), Vimeo, or Bunny Stream — never upload course videos directly to WordPress; it will crush your server and your storage
- Add a Quiz at the end of each module to boost completion rates
- Set pricing, a featured image (this is your course card — make it count), and publish
Step 6: Pre-launch checklist
- [ ] Test the full student journey yourself: find course → enroll → pay (use Stripe test mode) → take lesson → complete quiz → get certificate
- [ ] Mobile-test the lesson player and dashboard — most students learn on phones
- [ ] Set up caching + image optimization (course pages are media-heavy); exclude the cart, checkout, and student dashboard pages from caching
- [ ] Install an SEO plugin and write meta descriptions for the homepage and each course page
- [ ] Create essential legal pages: Terms, Privacy, Refund policy
- [ ] Set up automated backups
- [ ] Connect Google Search Console and submit your sitemap
How much can you customize later?
Everything. Course page layouts (theme + Elementor), certificates (Tutor Pro), email branding, instructor commissions, content drip, memberships — the WordPress + Tutor stack grows with you, which is exactly why it beats hosted platforms long-term.
If you’d rather skip the setup entirely, we build complete Tutor LMS course websites — theme installation, demo import, payment configuration, and your first course structured — as a service. Browse our education-ready WordPress themes, check our services, or get in contact for a quote.
FAQ
Is Tutor LMS free version enough to sell courses?
Yes. The free version includes the course builder, quizzes, student dashboard, and WooCommerce monetization. Pro adds content drip, certificates, assignments, and advanced quiz types — upgrade when you need those.
Can I migrate from Udemy or Teachable to WordPress?
Yes. You re-upload your videos to a video host, rebuild course structure in Tutor LMS, and email your students the new enrollment link. There’s no automated one-click migration, but a 10-module course typically rebuilds in a day.
What hosting do I need for 1,000 students?
A quality VPS or managed cloud plan (e.g., Cloudways/SiteGround higher tiers) with object caching. The real load driver is concurrent logged-in users, not total student count — and video streaming should always be offloaded to a video host or CDN.
Do I need WooCommerce to sell courses with Tutor LMS?
No. Tutor LMS has native monetization with Stripe and PayPal. Choose WooCommerce only when you need coupons, bundles, subscriptions, or mixed product sales.